
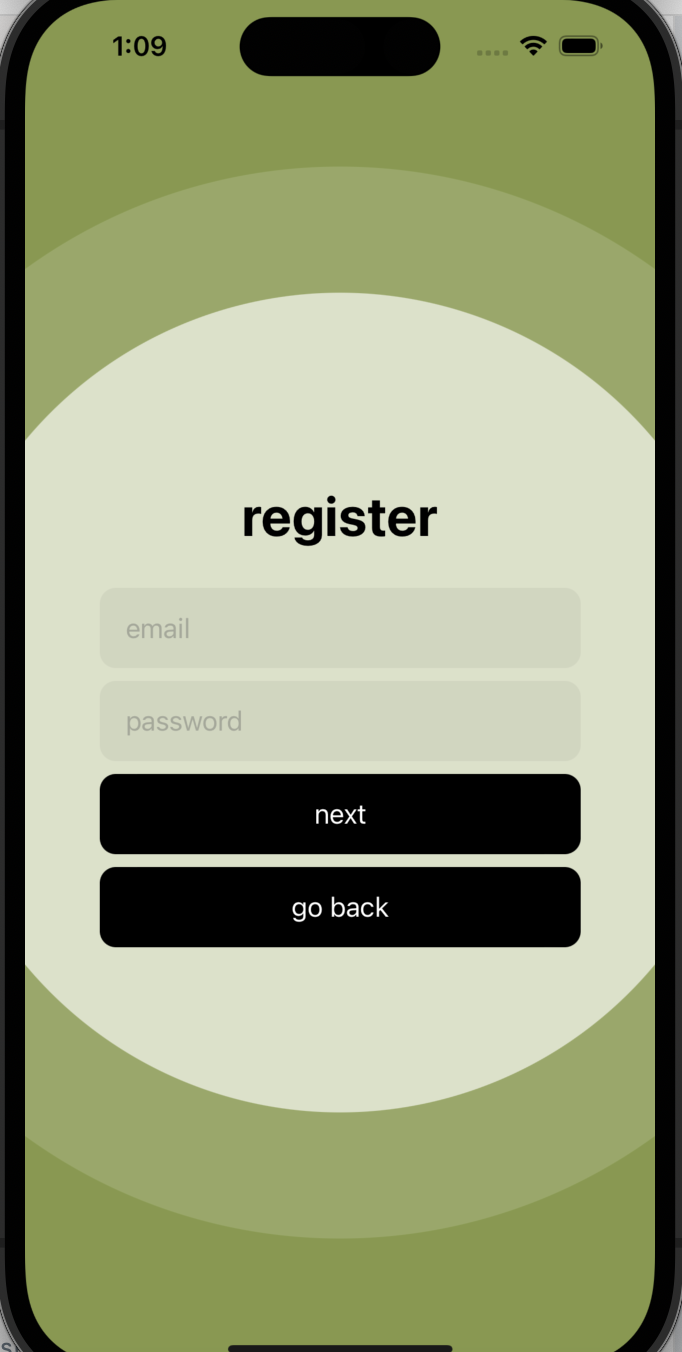
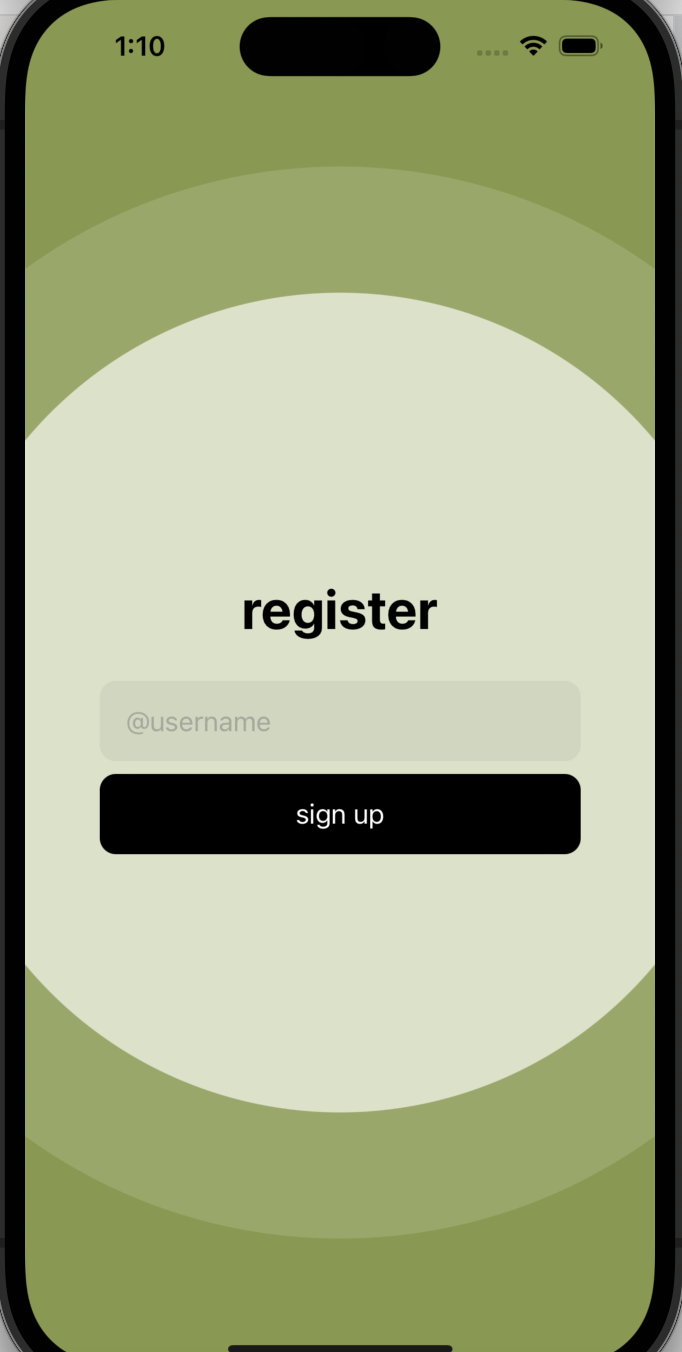
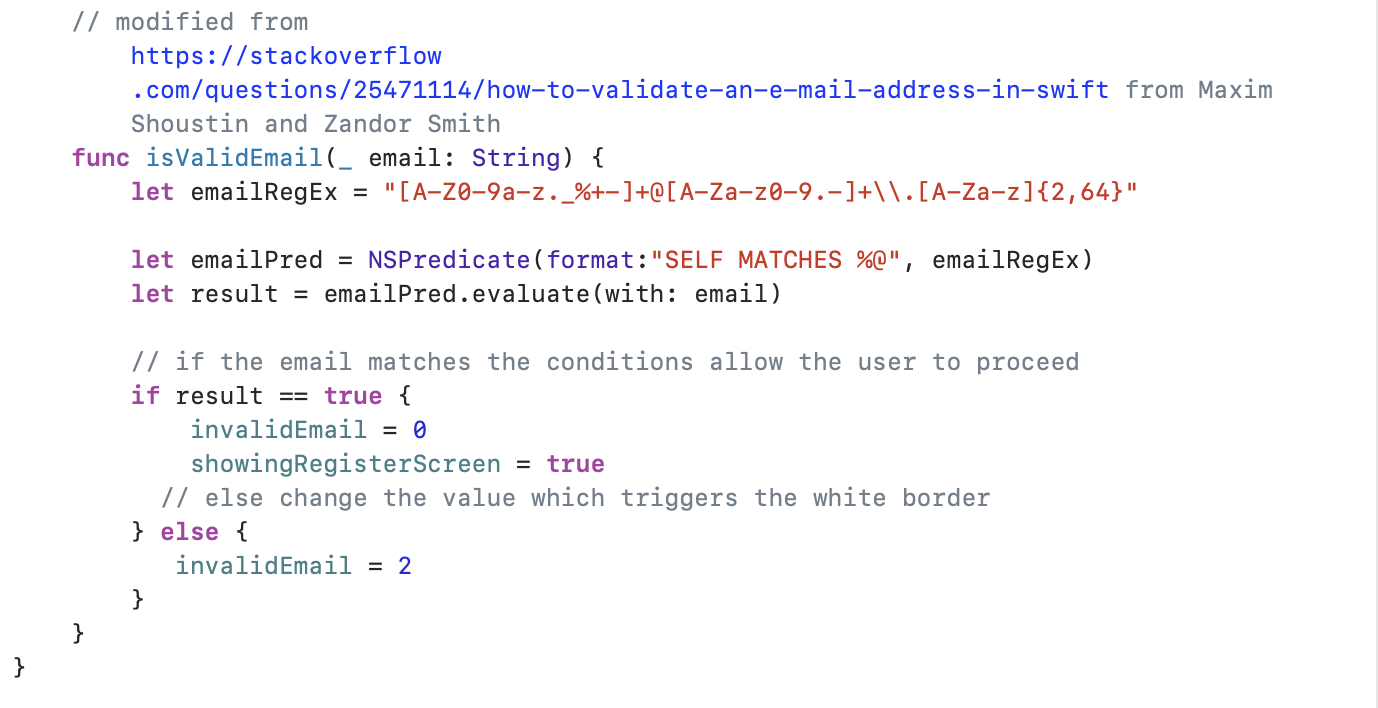
I used this tutorial to create these simple login and register screens. I don't want my final product to look like this but it was a good first exercise in familiarising myself with the different components of coding in SwiftUI. I haven't made a user database yet, and am not sure if I will be able to, but wanted to add some resemblance of a validation system. The app will only allow you to login with a certain username and password, and your email has to follow the pattern of "example@email.com". If the fields are filled in incorrectly the border around the boxes turns white.

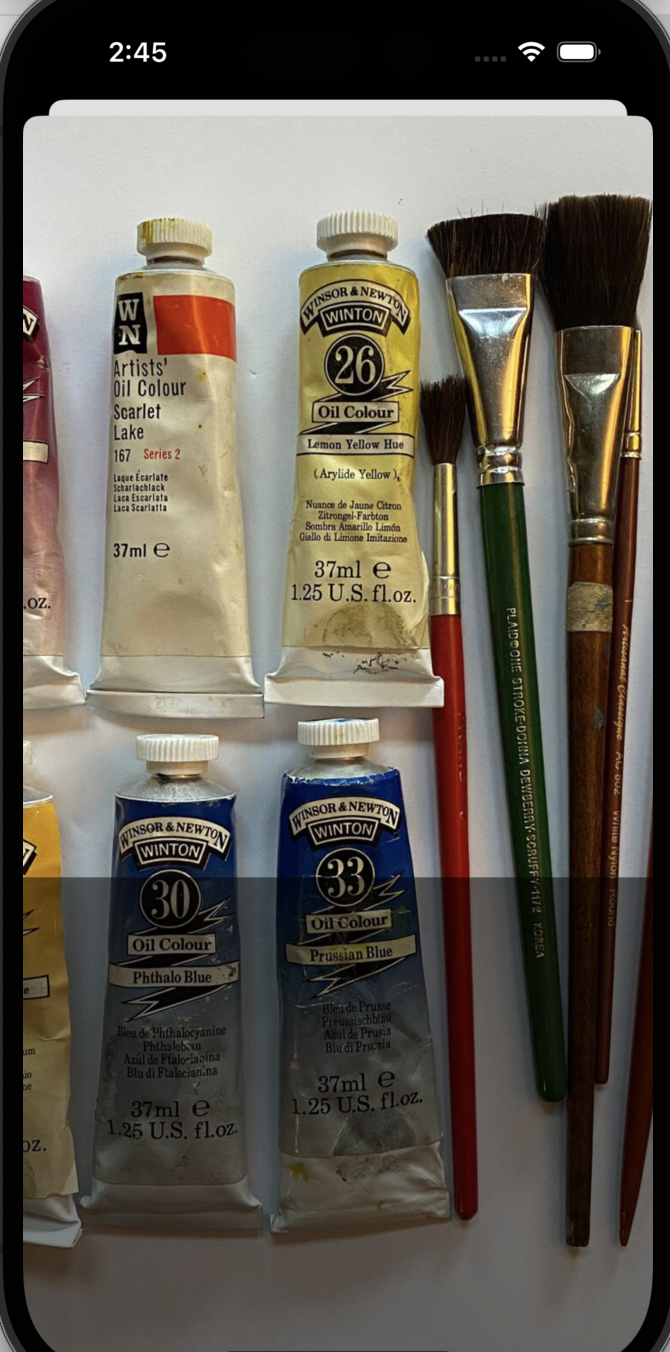
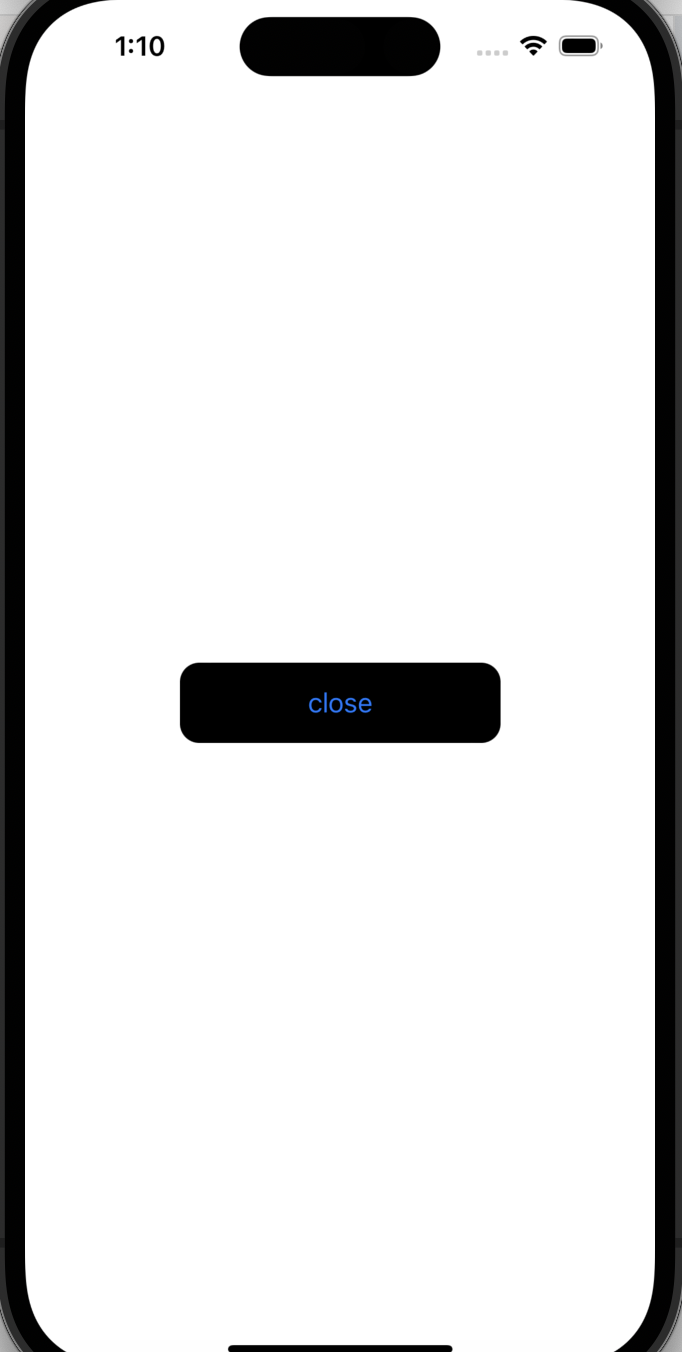
My home view uses horizontal and vertical ScrollViews that I will fill with images from a database. When you click the image a sheet appears with the image filling the screen. I'll add information here about the item such as the user who uploaded it, product details, amount of views etc. (further detailed in my figma) The close view you see is actually a sheet that slides up into the screen when you click the green plus button. Instead of it saying close I need to create an upload screen where the user can add an item to the database. It should have an image, product details, etc.

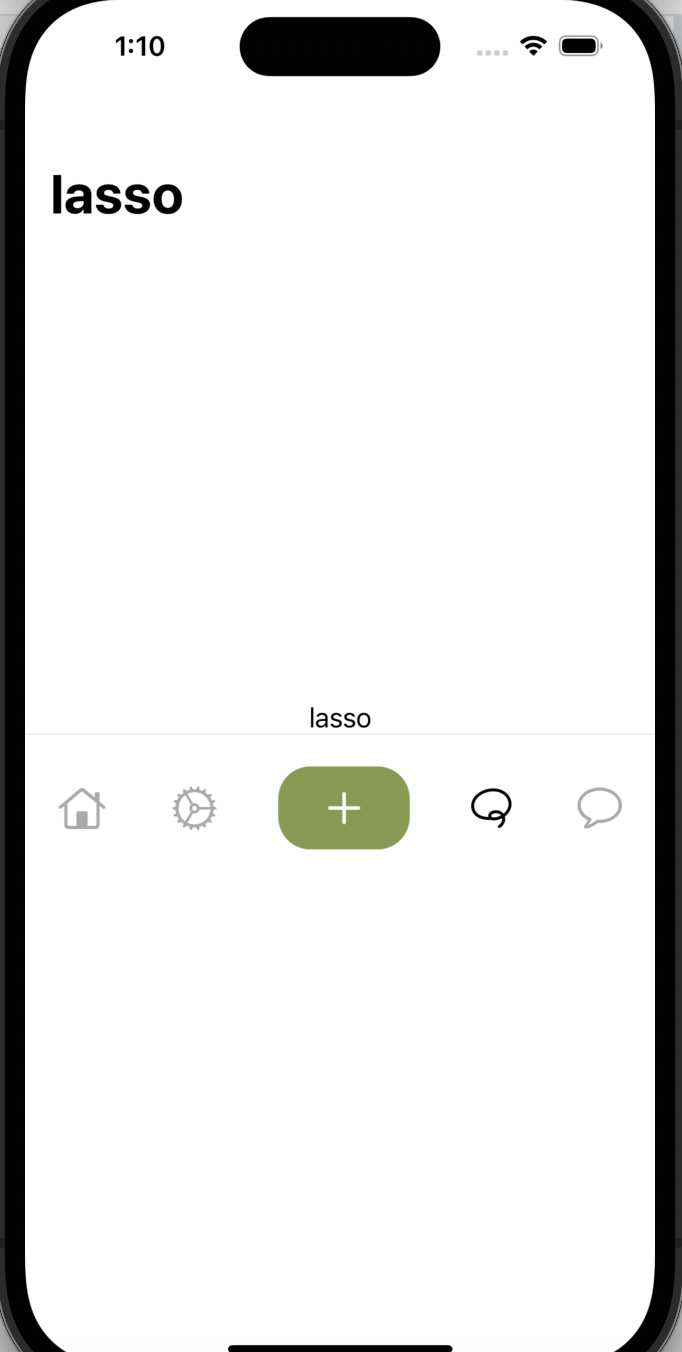

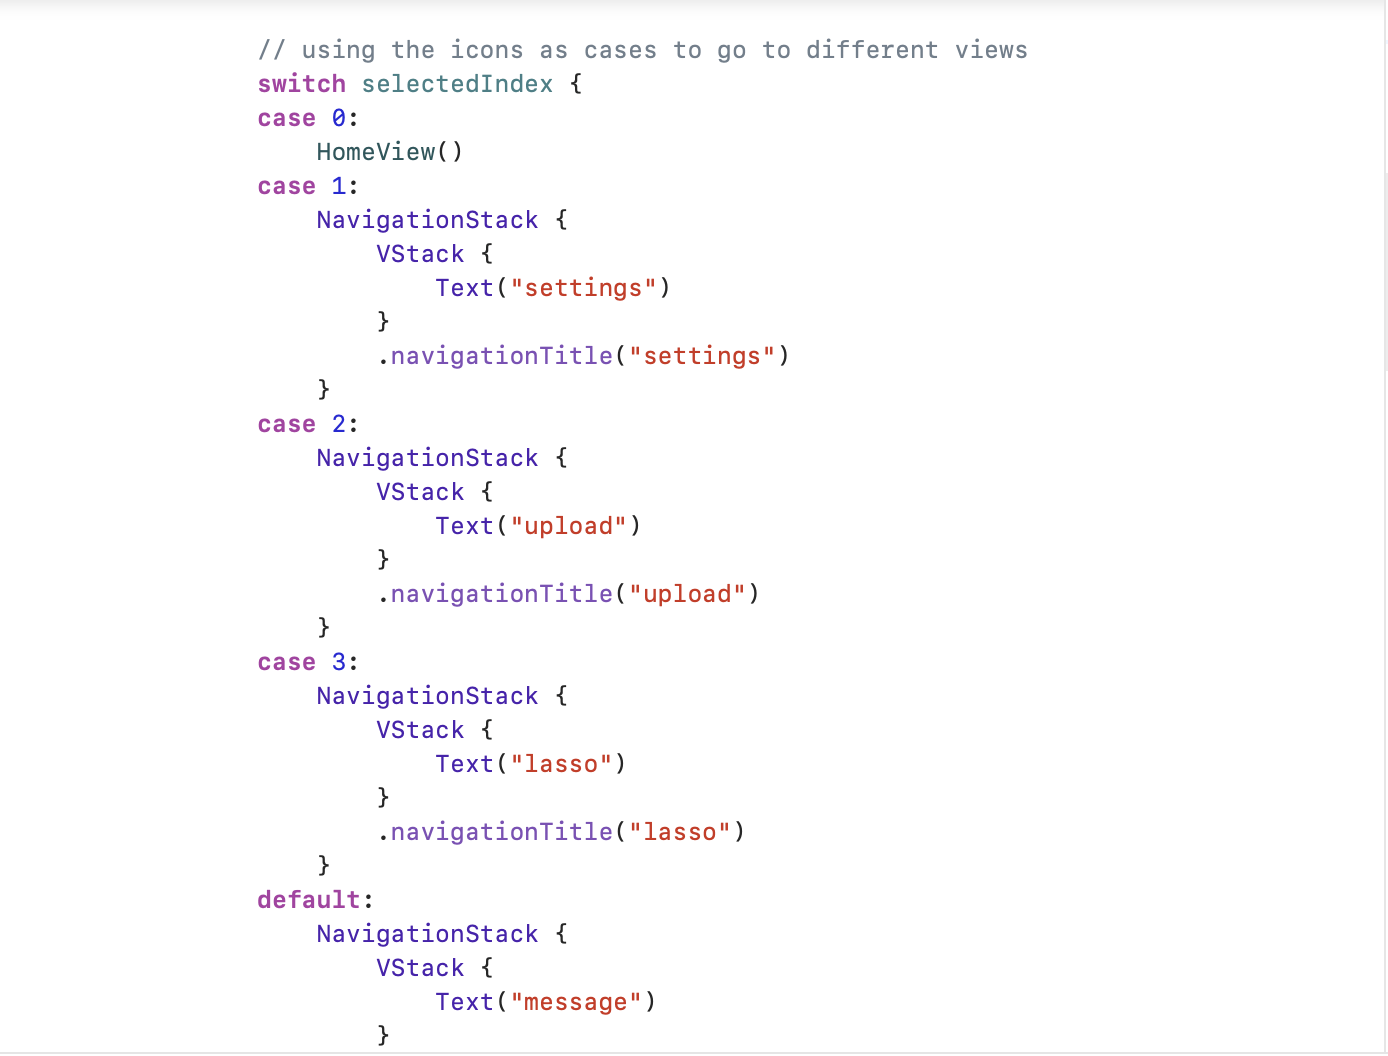
I used this tutorial to create a tab bar for different views in my app. I feel a tab bar is the simplest way to move around an app and communicates each view effectively through simple icons. The code uses different cases to switch between views. I'm using NavigationStacks as placeholders until the views have been created. It also works as a to-do list.

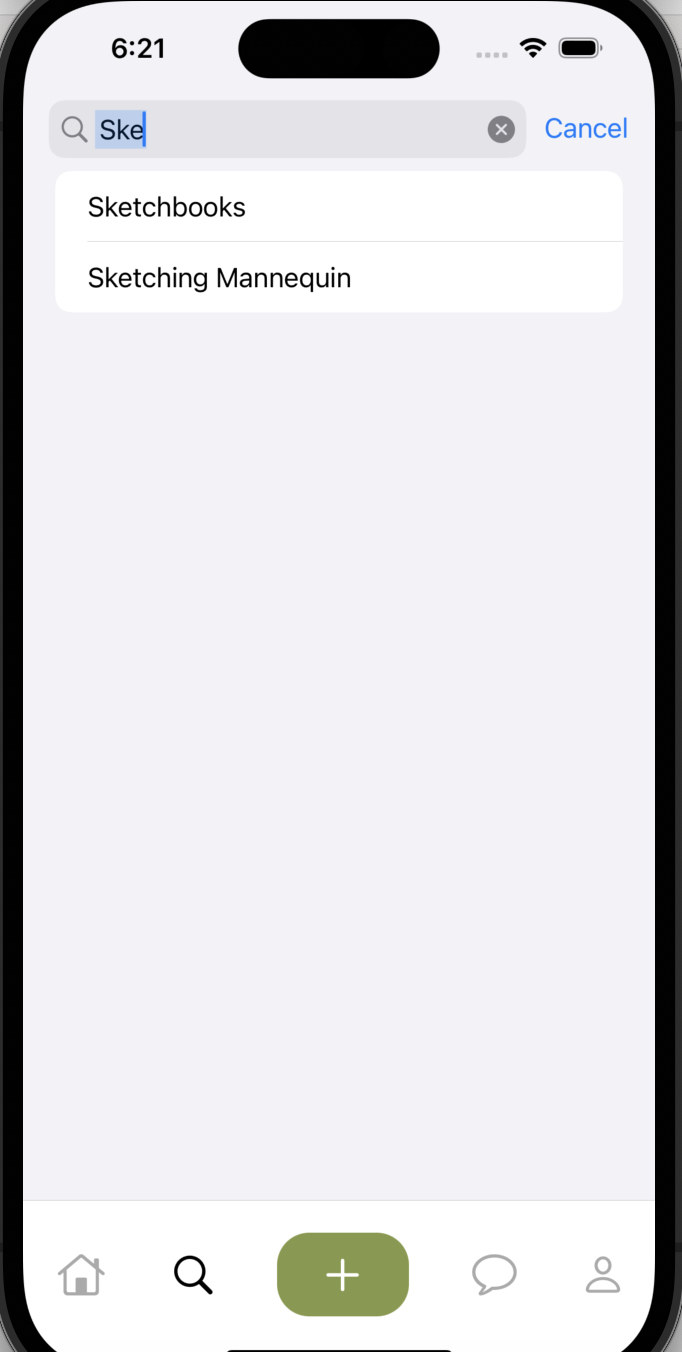
I used this tutorial to create a search bar under the search view. I used a mock array for testing purposes and am loading it into a List with a ForEach loop. I need to do research into the retail of creative materials and see what search items I should actually implement. I could also base it on what users are actually uploading to the app so it is more dynamic and responsive. By this time I had also changed the tab bar icons to align with my future plans.
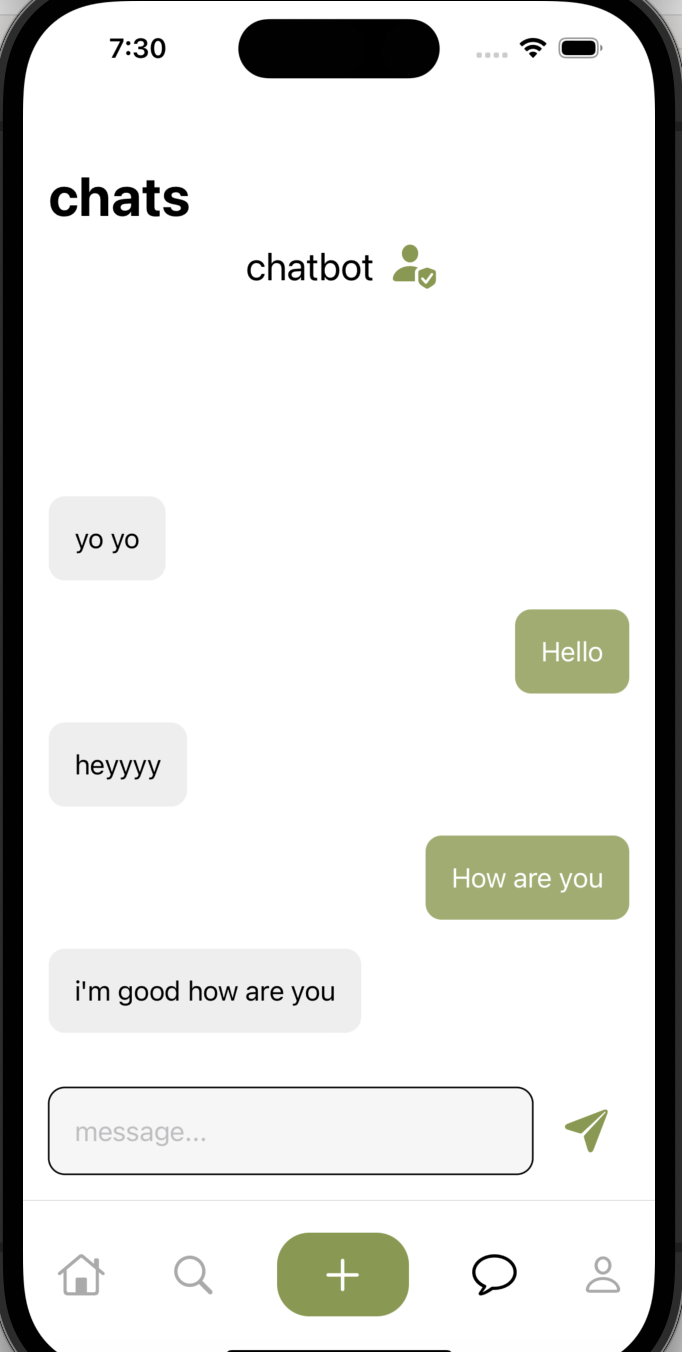
Since I don't yet have a user database, but still want most of the app to be set up in a semi-functional way before I move onto that part - which most likely will be the most difficult - I created the ChatView to function as a chat bot. I wanted to decide on the aesthetic and animatons of the chatting aspect of the app and it was a quick and useful exercise.
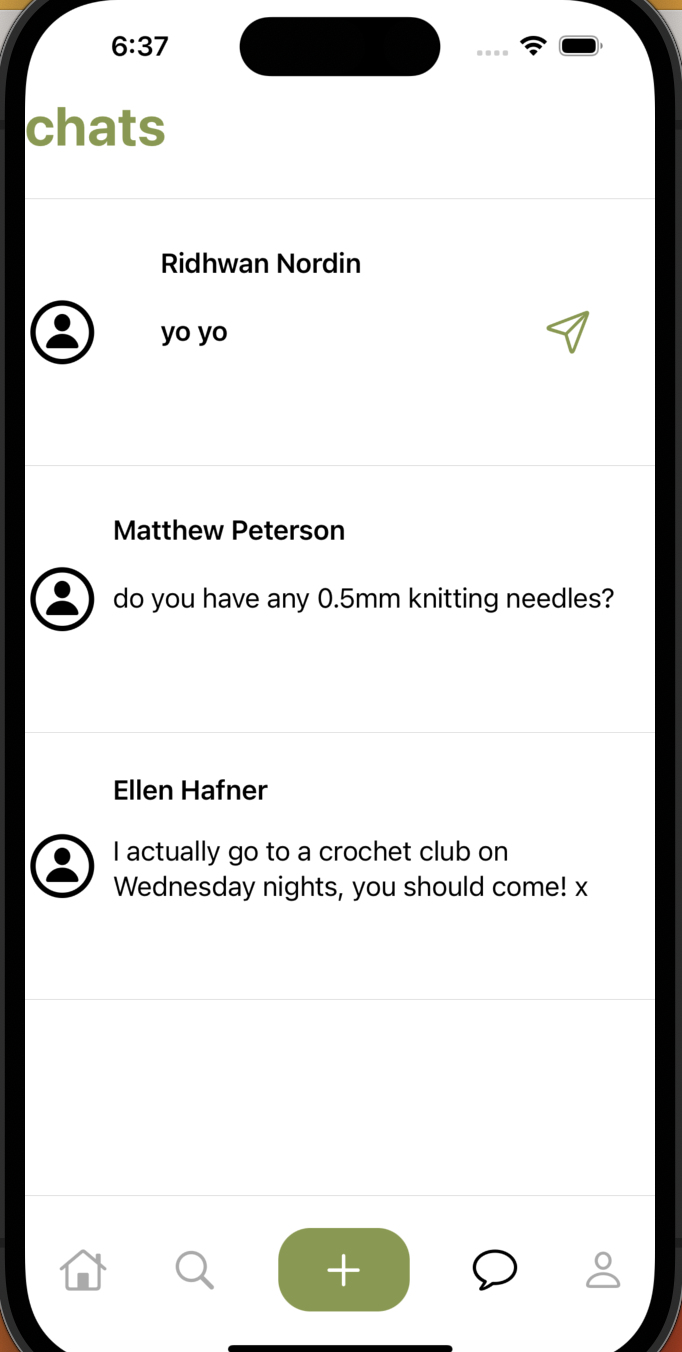
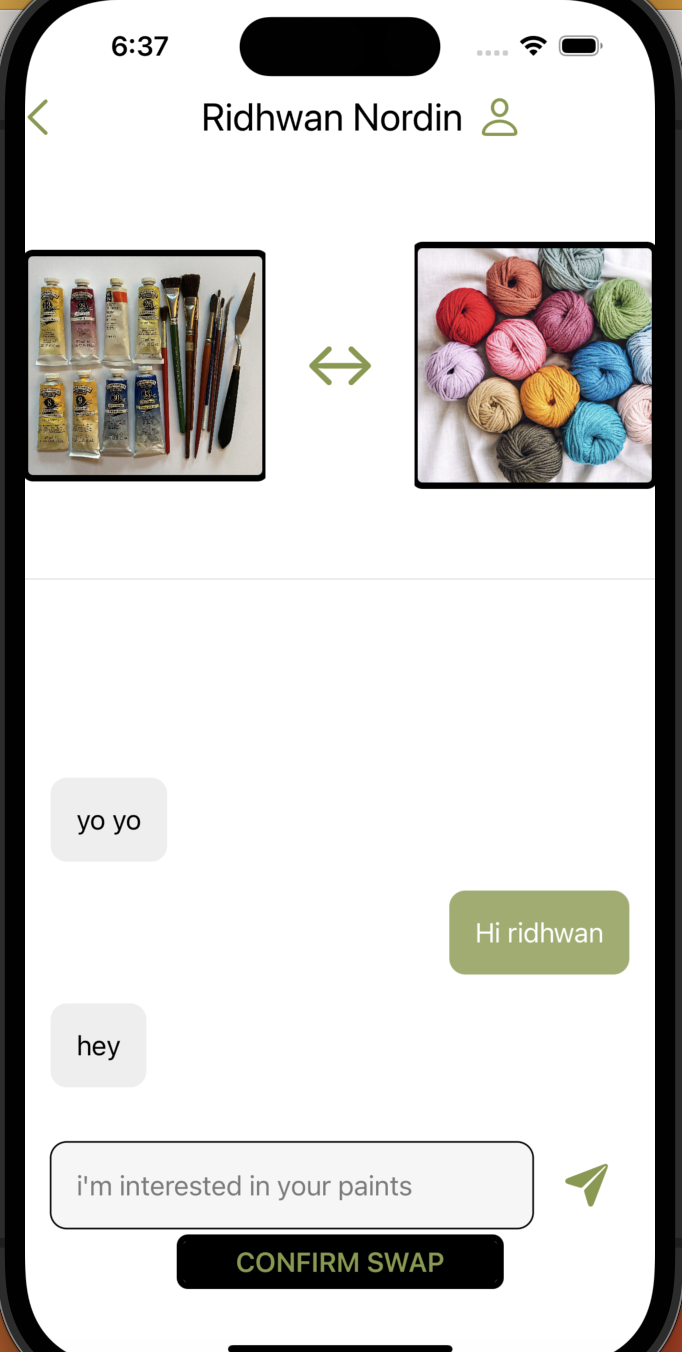
I learned soon after implementing the chat bot that having a user database and synchronous chatting wouldn't be possible within the time constraints of this module. Therefore I repurposed the bot to be more relevant to the future functionality of the app. In the chats view, you can see messages from all conversations. The paper plane indicates a new message. Because the conversation is of swap type the objects in question appear at the top as a visual reminder. Ridhwan will respond appropriately if the user types in the message that I prompt in the textfield with a placeholder. I hope in the future I am able to implement this chat feature in actuality, otherwise the app's function is nonexistent.
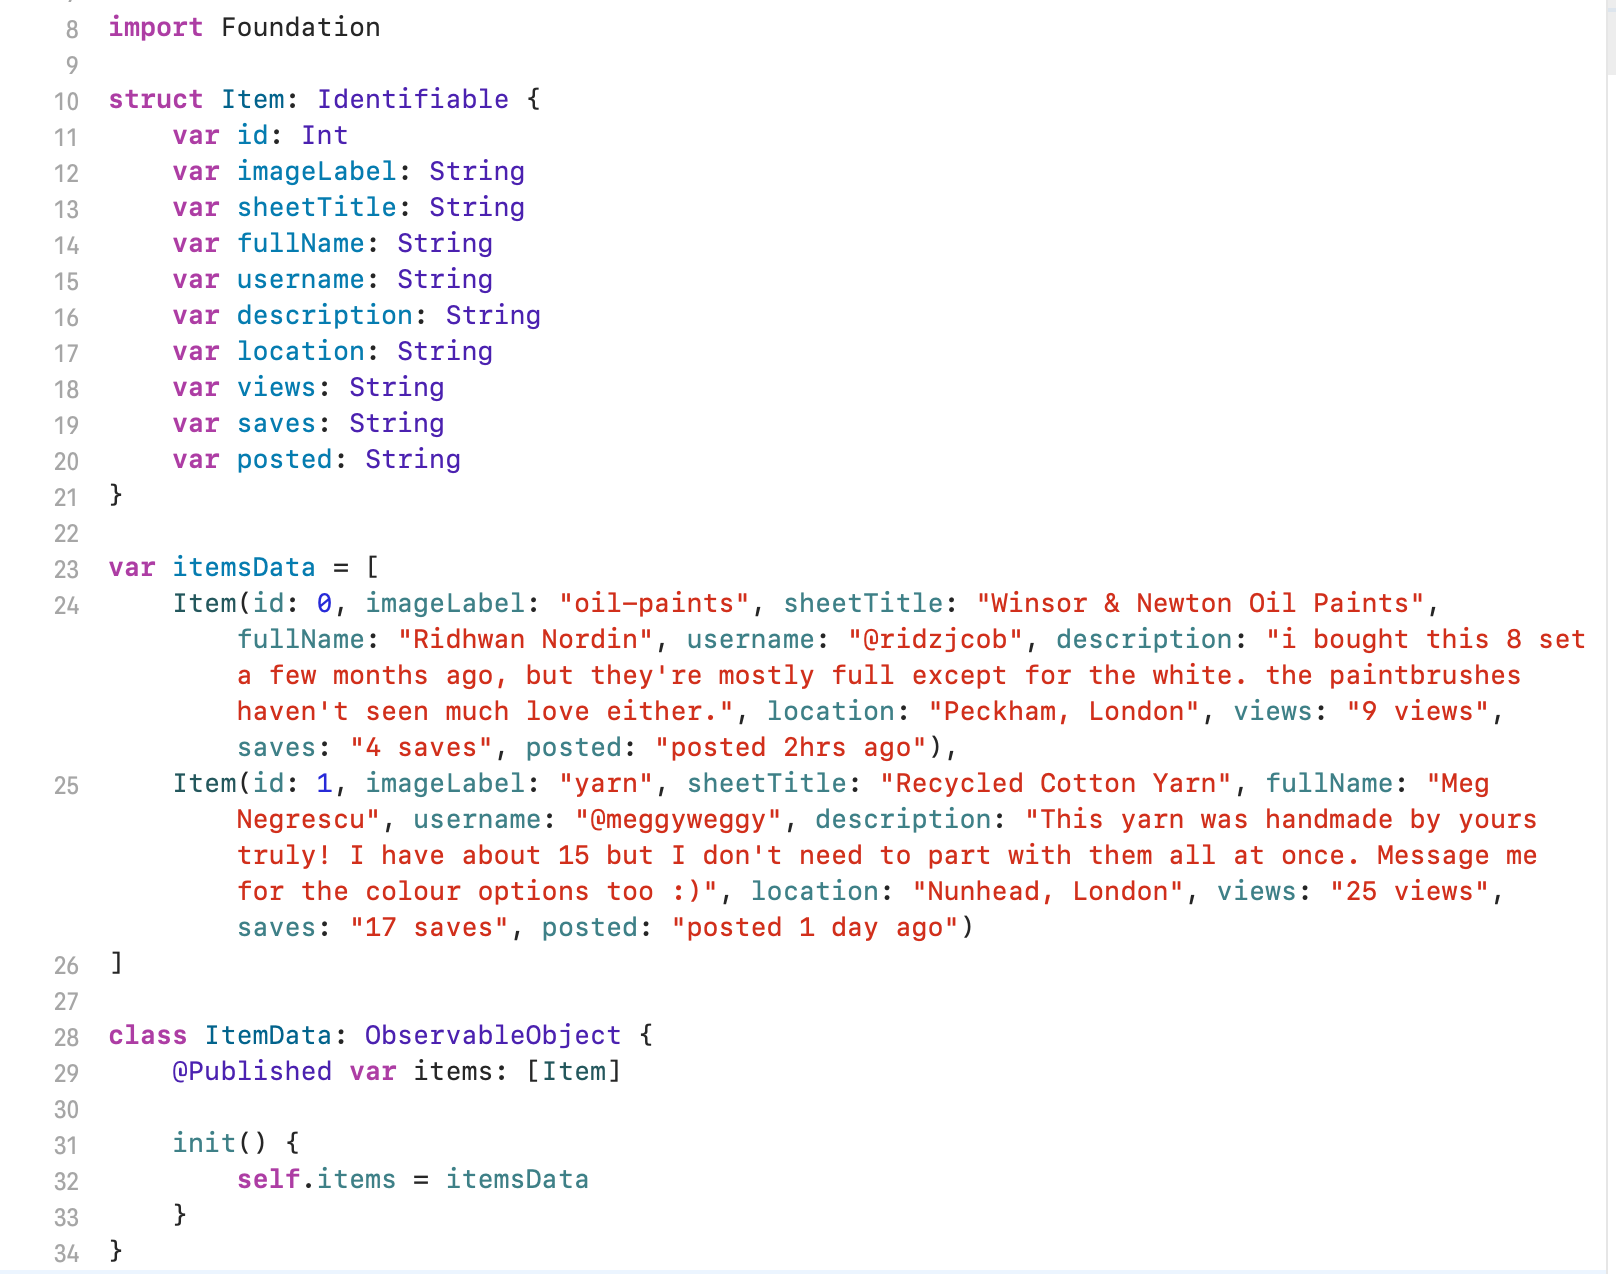
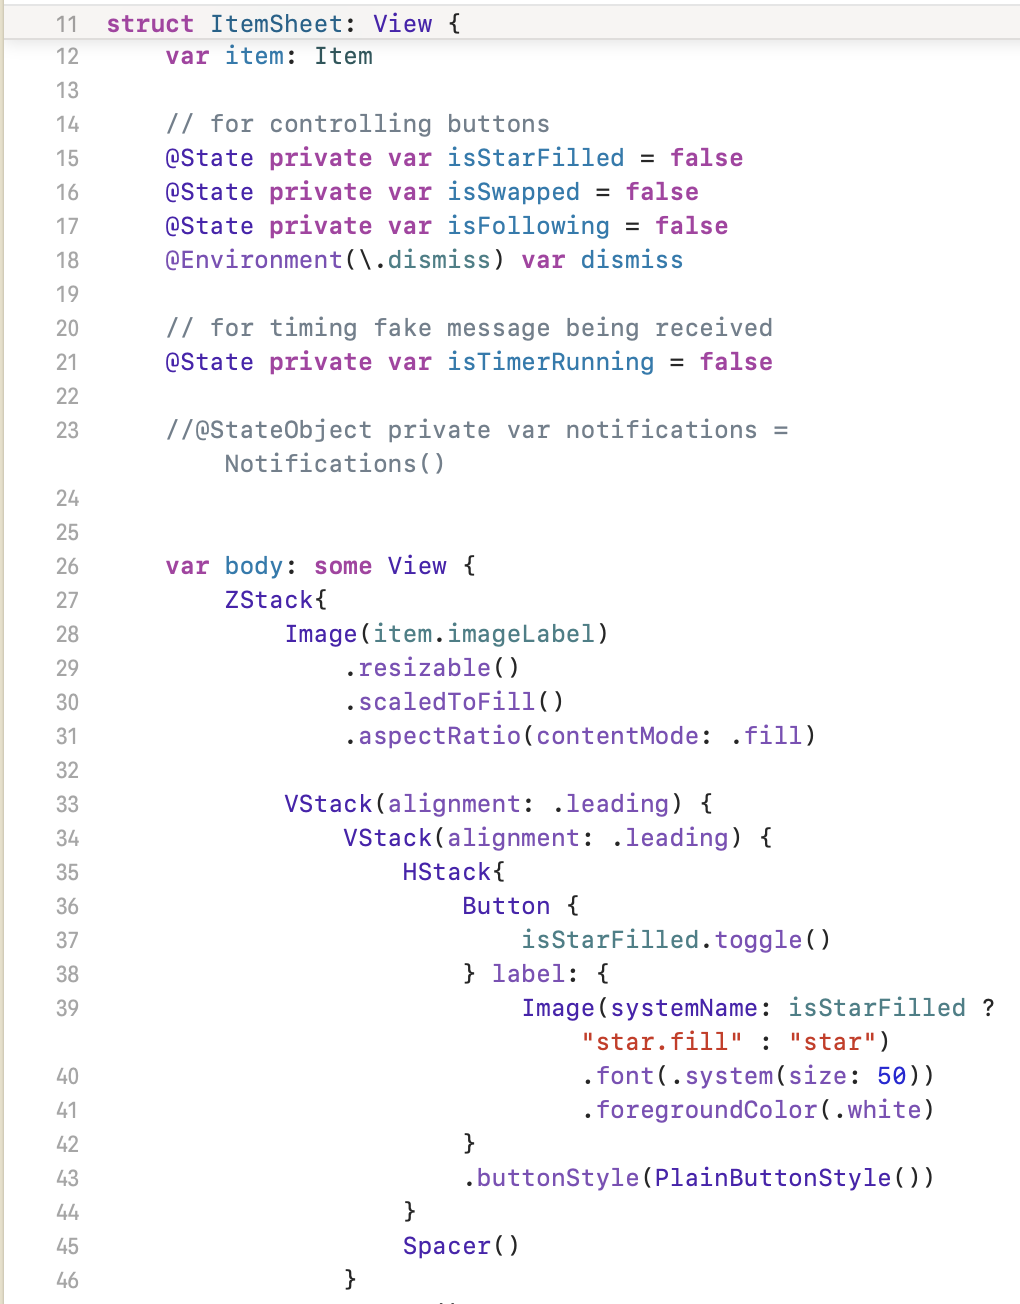
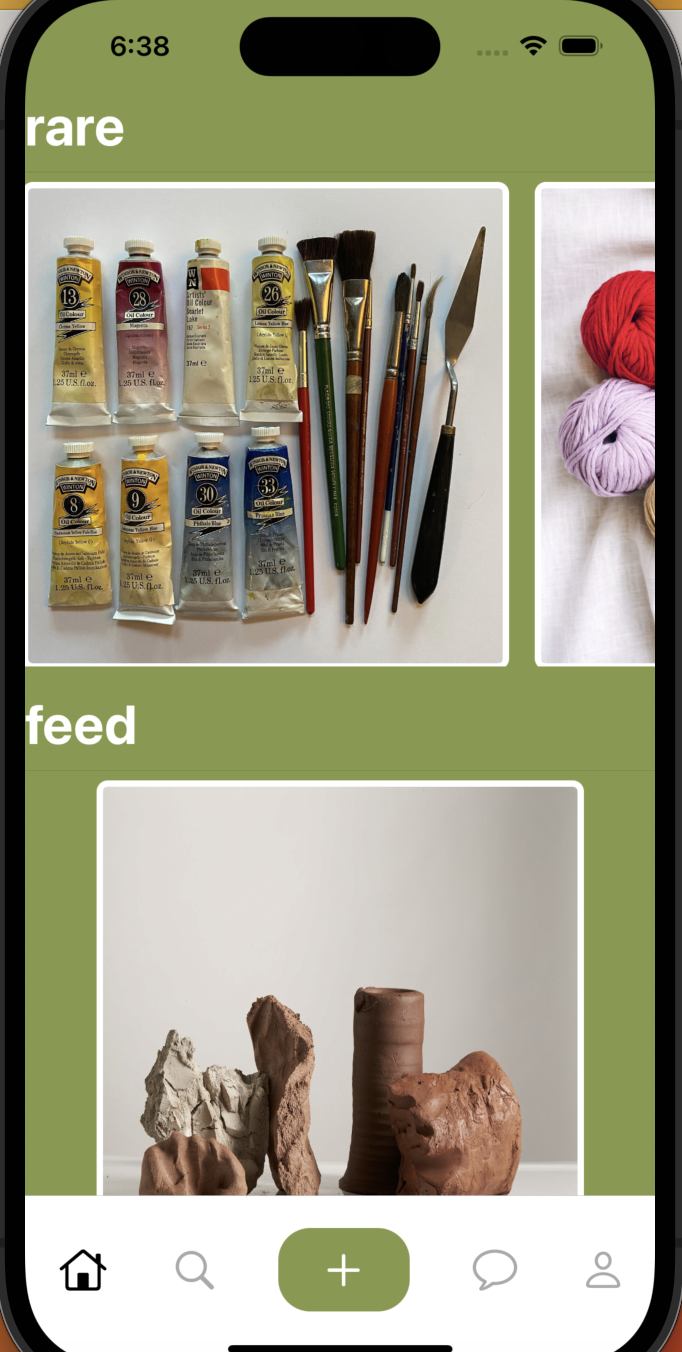
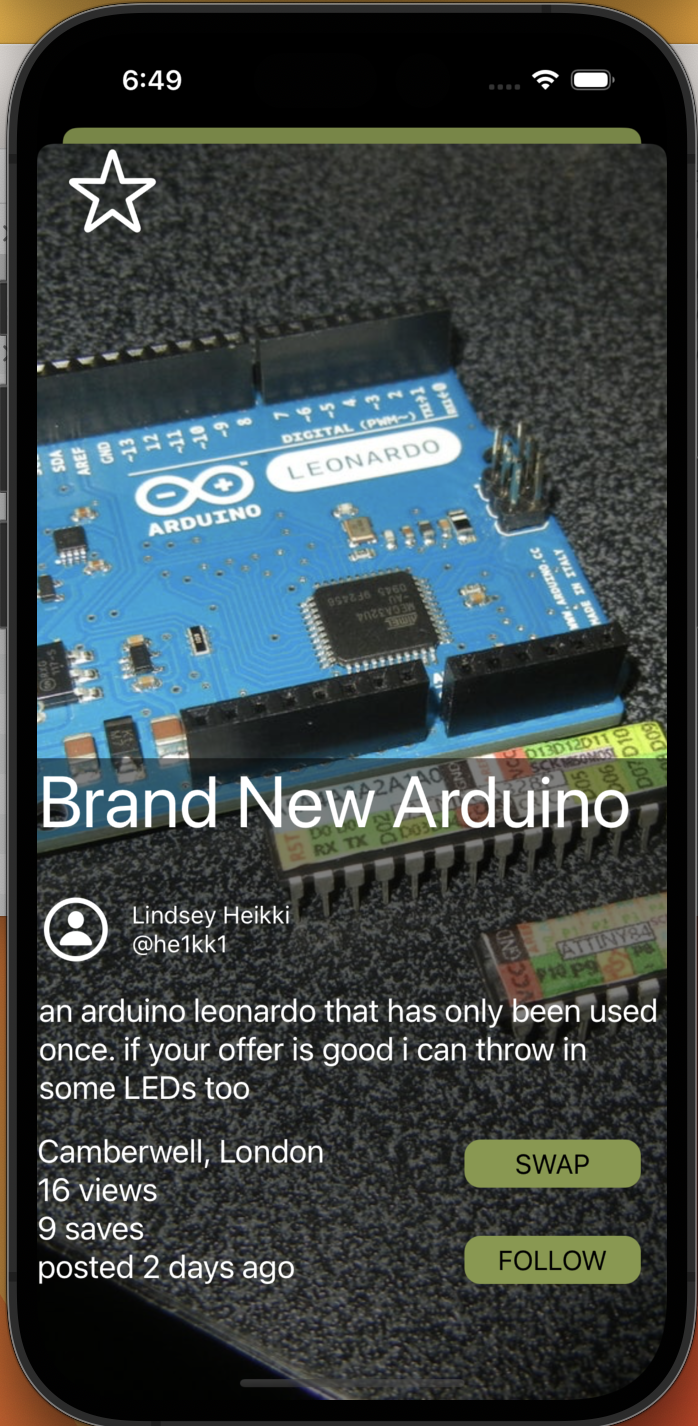
To create an efficient way of filling out the home screen, I used a JSON format and an Environment Object. This enabled me to fill out the details of each item available for swapping only once, calling the relevant data within each view. This took me a while to setup. My main challenges were creating instances of Items in each view, and then calling the view into another view in the correct way. I sometimes ended up with duplicates or calling the properties in the wrong place. It was difficult but I now feel a lot more comfortable with Environment Objects and also scope in general within Swift.
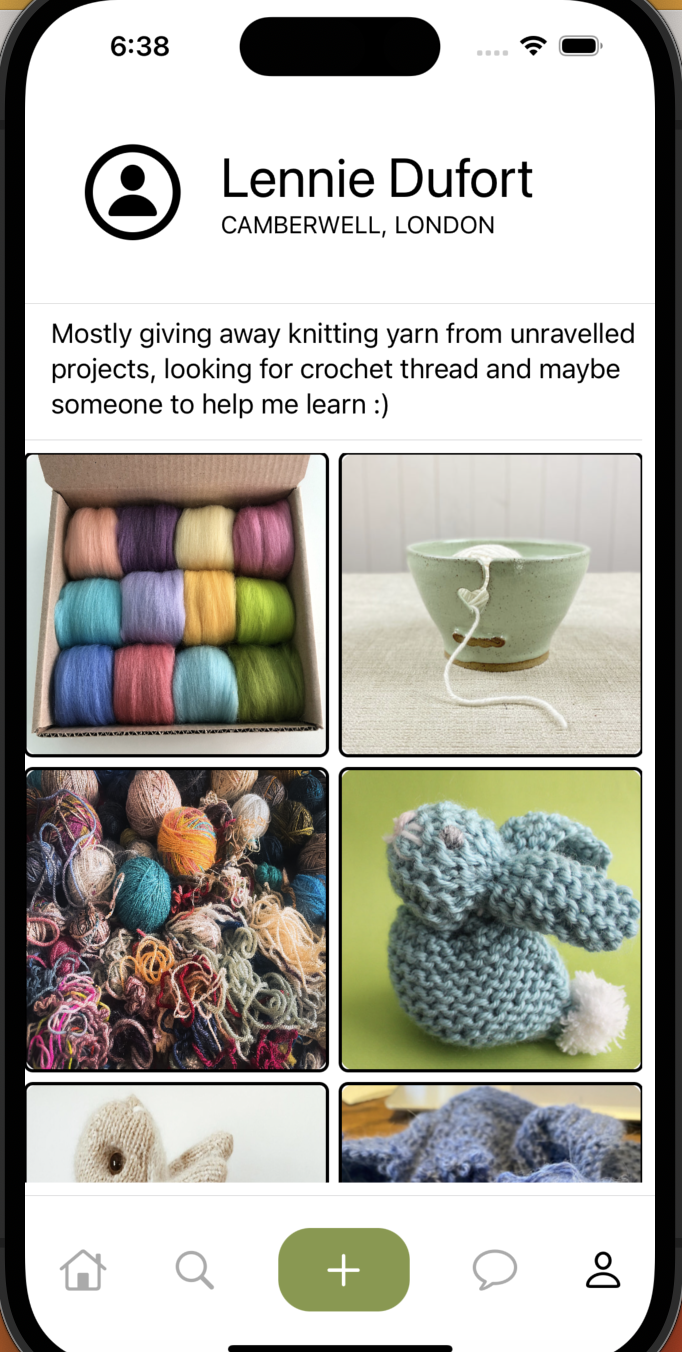
I used the same technique to generate the home screen items here in this simulated Account page. The only differences are the items in the array and the way I arranged the grid. Because I had spent so long dealing with this mode of displaying before, I was able to create this page quickly and easily.
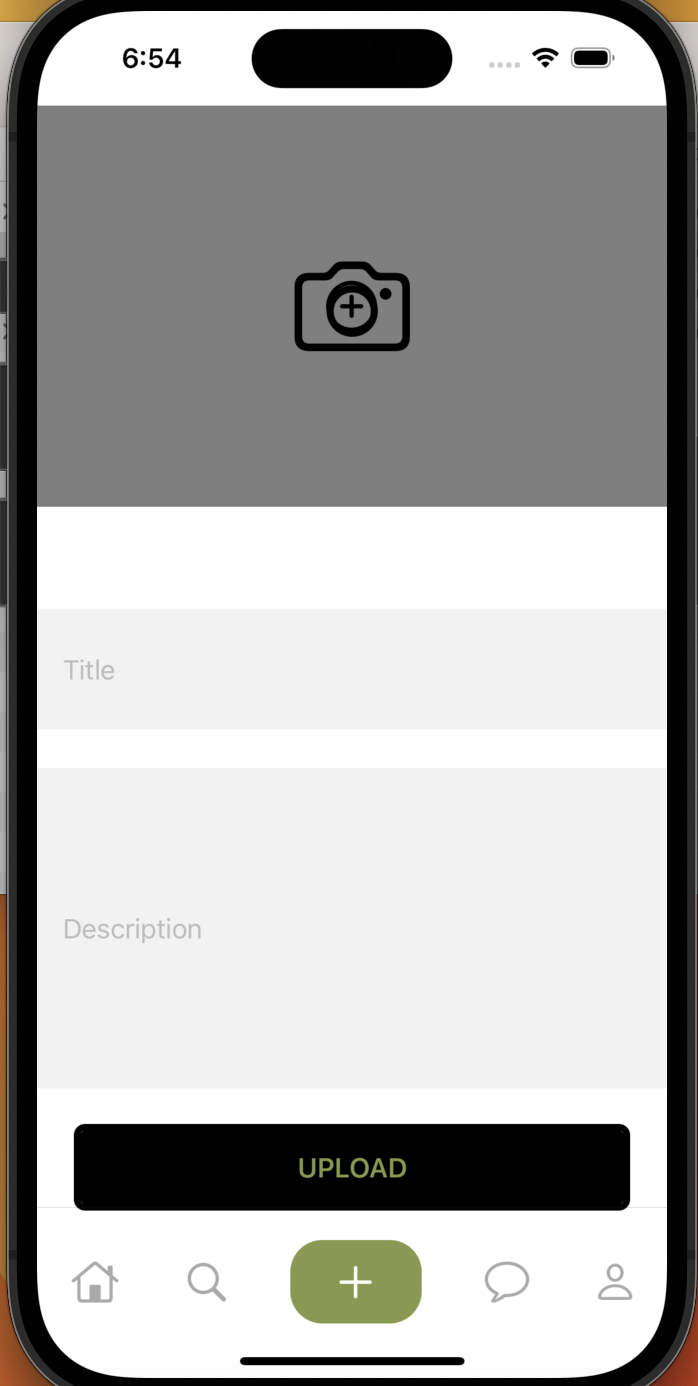
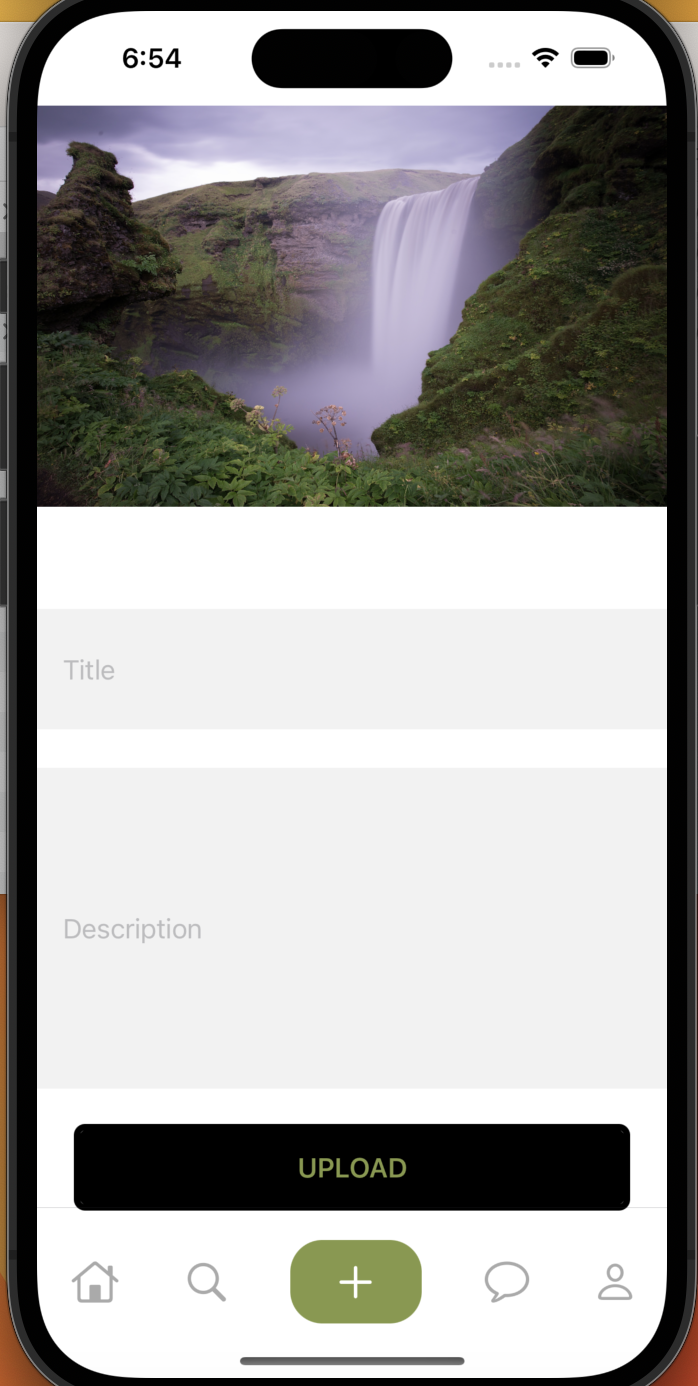
The upload screen includes space for the title and description of whatever the user wants to offer for a swap. In a fully functional version of the app, the other details such as location, time posted etc. would be assumed automatically. When the camera icon is clicked, the user can choose an image from the photo library. In the future I would want them to be able to choose to either use the camera as an image source as well as the library, but since I wasn't able to deploy the app to a device I did not want to introduce a feature that could not be tested properly.
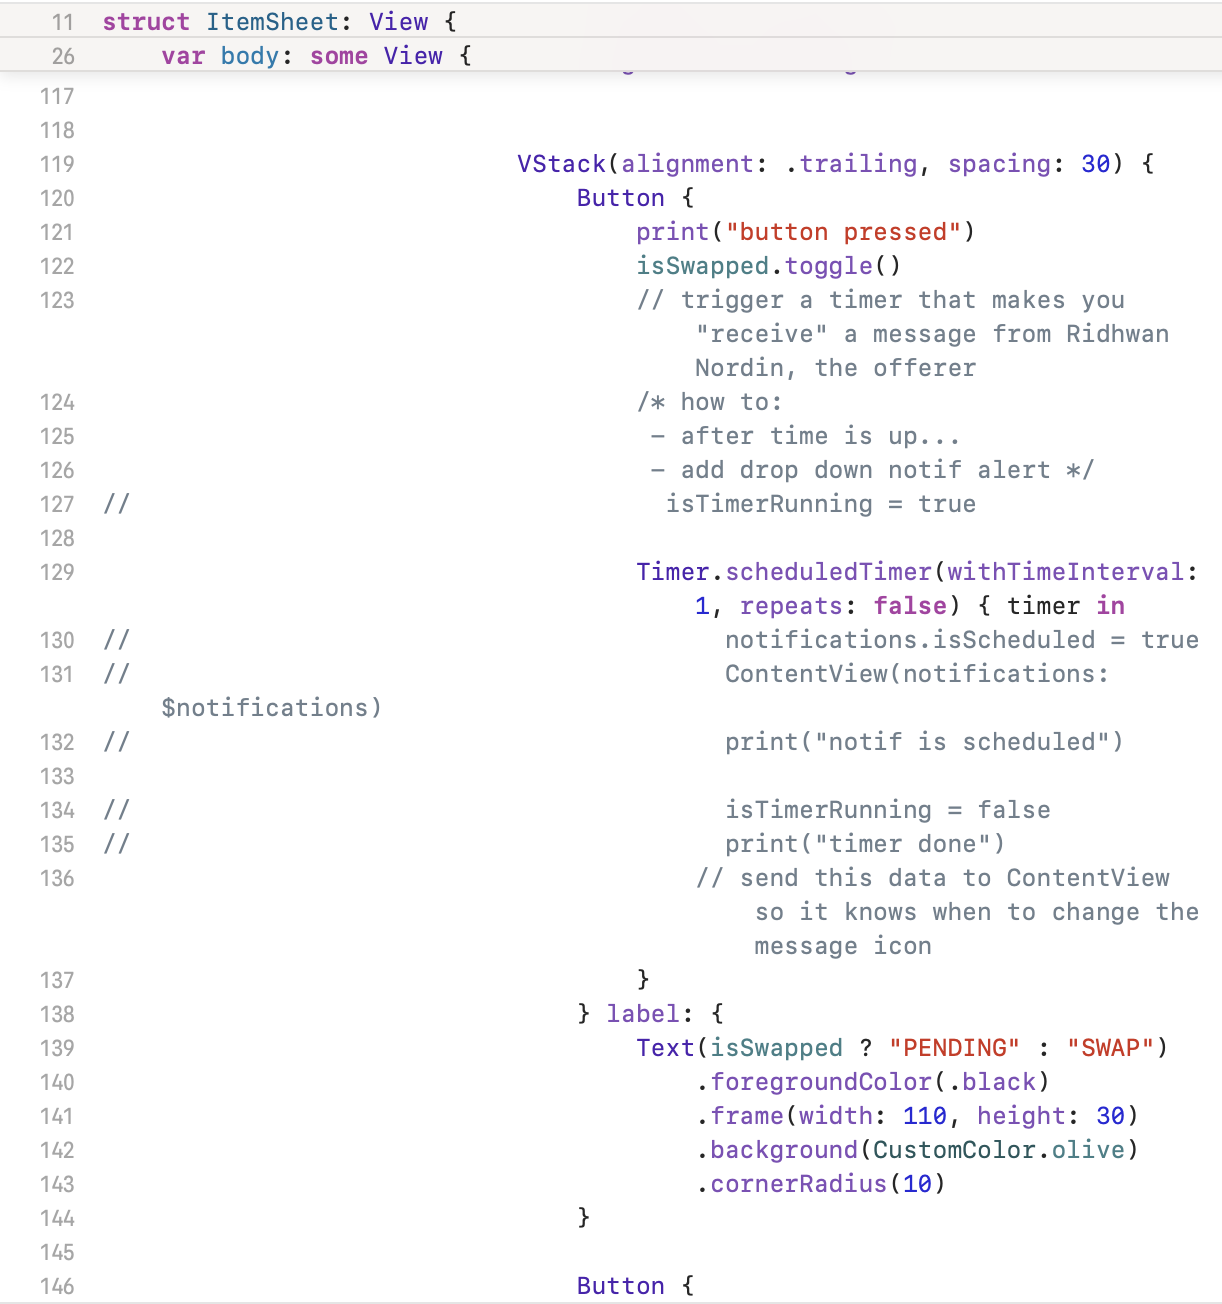
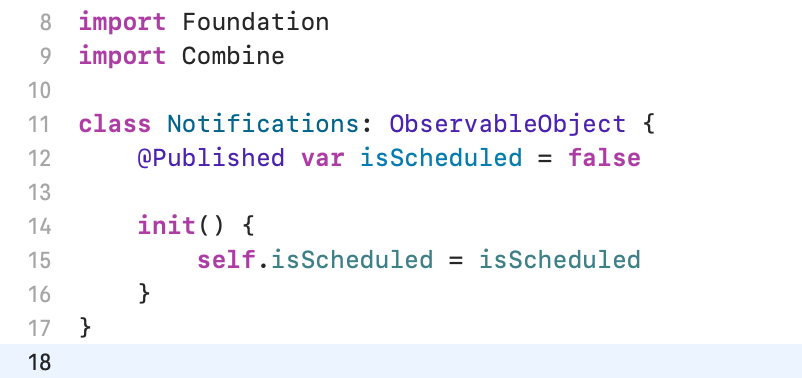
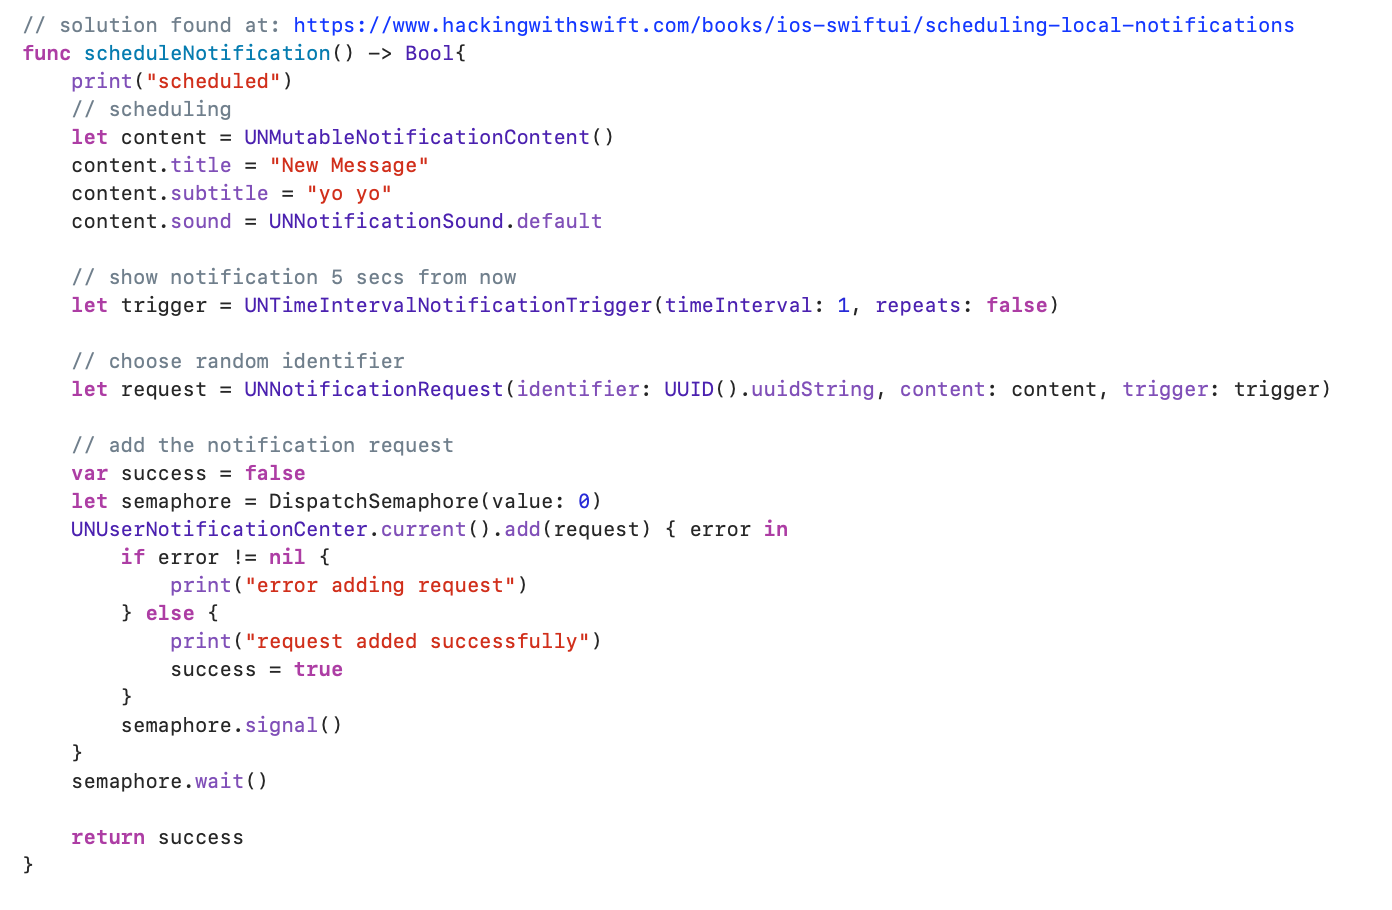
The final function I tried to introduce was a notification system for "new messages". To simulate the user receiving a new message I planned for the swap button seen on an item sheet to trigger a timer. After this timer expired the notification would appear and the messages icon in the tab view would change to that of one to indicate a new message. Ultimately, I was unable to achieve this despite trying the variety of methods shown above. It got more complicated with every iteration, and so eventually I had to scrap the idea. Additionally, it only works as a simulation, if I had real time chat as a feature, it would be a pointless exercise.